
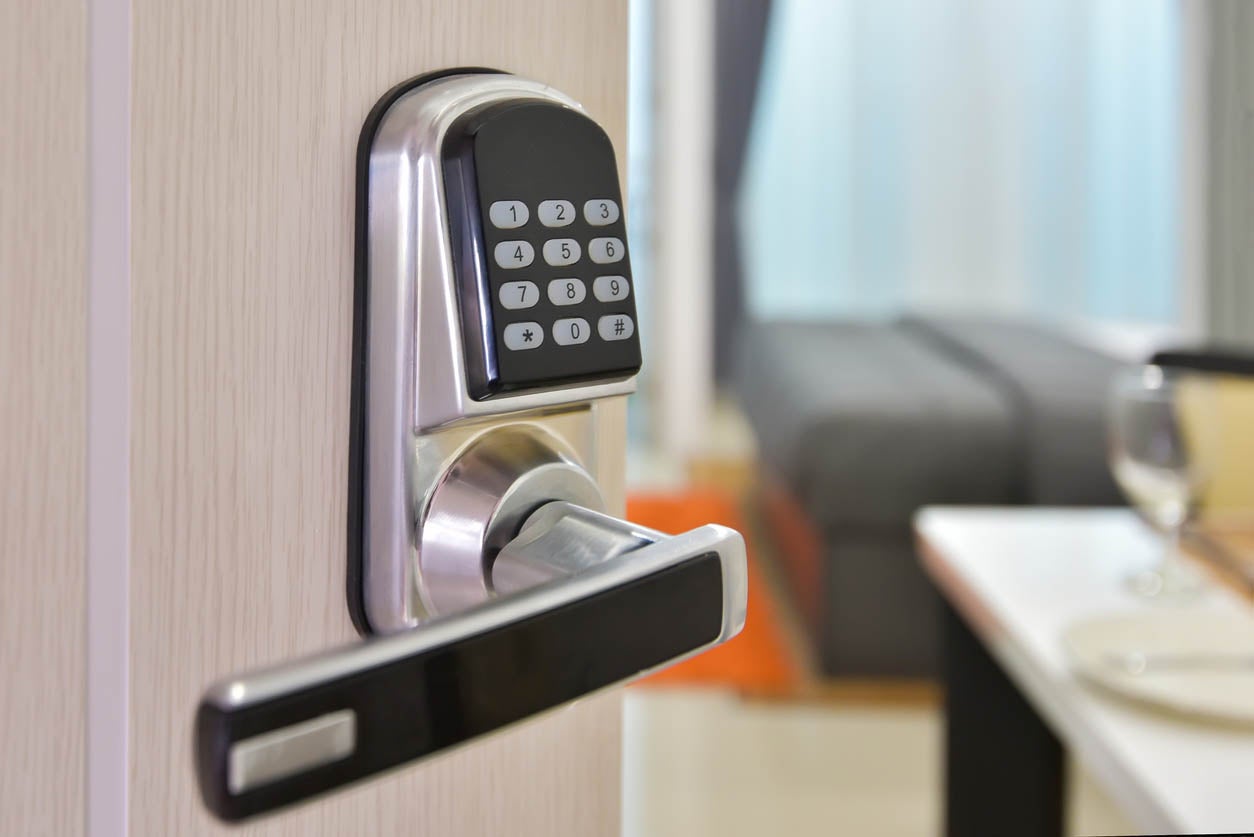
Do you want to make your life a little bit easier? If so, then you should consider installing a keypad door handle in your home. This type of door handle allows you to easily unlock your door without having to fumble for your keys. In this blog post, we will walk you through the installation process in three simple steps.
The Steps:
- If you have a standard door, then the first thing that you will need to do is remove your existing door handle. To do this, simply unscrew the two screws that are holding it in place. Once the screws are removed, you should be able to simply pull off the door handle.
- Next, take your new keypad door handle and line it up with the holes where your old door handle was located. Once it is lined up, screw it into place using the screws that came with the new handle.
- Now, you will need to connect the wires from the keypad to the wiring system of your door. The specific instructions on how to do this will vary depending on which type of keypad door handle you purchased. However, most keypad door handles will come with detailed instructions on how to wire them correctly.
Parting Note:
Once the wires are connected, you will need to test out the door handle to make sure that it is working properly. That’s it! You have now successfully installed your new keypad door handle. We hope that this blog post has been helpful.

